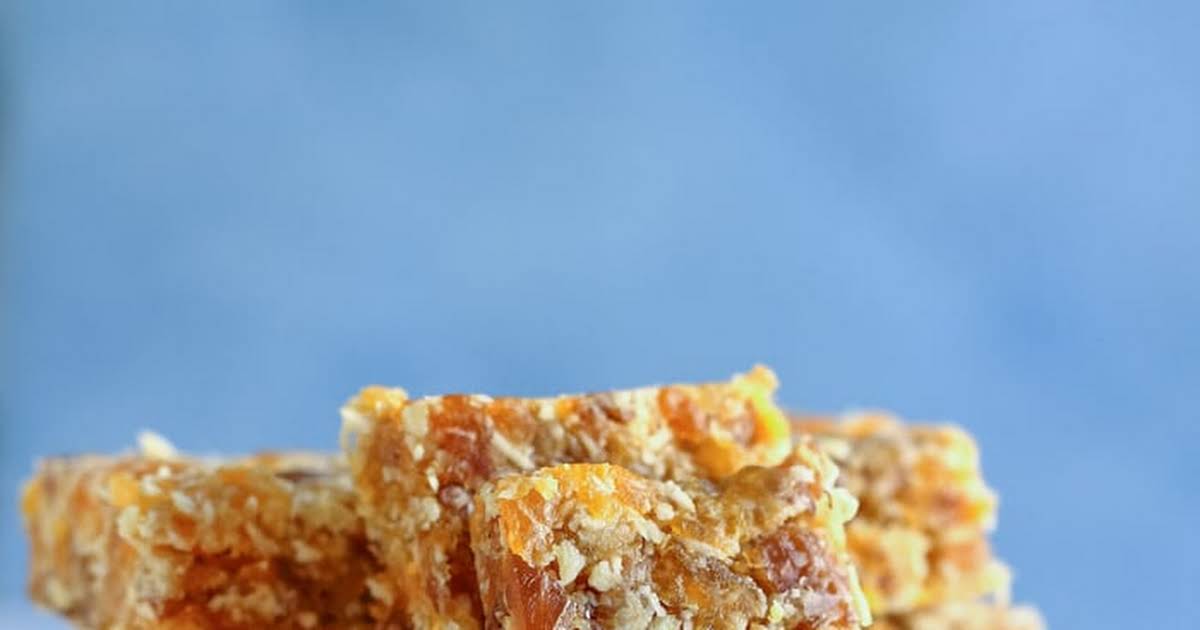
Conquer your morning rush with these incredibly quick and delicious egg-free energy bars! Packed with wholesome ingredients and bursting with flavor, this recipe is perfect for busy mornings when you need a nutritious and satisfying boost. Forget complicated recipes and long preparation times; these bars come together in just five minutes, leaving you with more time to focus on your day. Imagine the vibrant colors of the ingredients swirling together, the satisfyingly chewy texture, and the delightful burst of flavor with each bite. Get ready to experience a whole new level of convenient and healthy snacking.
This recipe provides a detailed, step-by-step guide, complete with vivid descriptions of the process, ensuring even novice bakers can achieve perfect results. We’ll explore various flavor combinations, discuss customization options to cater to different dietary needs, and offer helpful tips on storage to maintain freshness. Prepare to be amazed by how simple it is to create these powerhouse energy bars that will fuel your day from sunrise to sunset.
Recipe Development & Ingredients
These 5-minute egg-free energy bars are designed for busy mornings, utilizing readily available ingredients to provide a quick and nutritious boost. The recipe prioritizes simplicity and ease of preparation without compromising on flavor or nutritional value. Each ingredient plays a crucial role in providing sustained energy and essential nutrients.
This recipe focuses on a blend of carbohydrates for quick energy, healthy fats for satiety, and protein for muscle building and repair. The combination creates a balanced energy bar perfect for fueling your morning activities.
Ingredients and Nutritional Benefits
The following ingredients are essential for creating these energy bars. Each ingredient is chosen not only for its contribution to the overall taste and texture but also for its specific nutritional benefits. Substitutions are suggested where appropriate to cater to dietary needs and preferences.
1 cup rolled oats: Provides complex carbohydrates for sustained energy release, along with fiber for digestive health. Substitution: Quick-cooking oats or a gluten-free oat alternative.
1/2 cup peanut butter (or any nut butter): Offers healthy fats, protein, and essential vitamins and minerals. Substitution: Almond butter, sunflower seed butter, or tahini for variety and to accommodate allergies.
1/4 cup honey or maple syrup: Acts as a natural sweetener and binder, adding a touch of sweetness and holding the ingredients together. Substitution: Agave nectar or date syrup for a different flavor profile.
1/4 cup chia seeds: A powerhouse of omega-3 fatty acids, fiber, and antioxidants, contributing to overall health and well-being. Substitution: Flax seeds or hemp seeds offer similar nutritional benefits.
1/4 cup shredded coconut (unsweetened): Adds a pleasant texture and flavor, along with healthy fats and fiber. Substitution: Dried cranberries or chopped nuts for a different texture and taste.
1 teaspoon vanilla extract: Enhances the overall flavor and aroma of the energy bars. Substitution: Almond extract or other flavorings according to preference.
Nutritional Comparison Table
The following table compares the nutritional content (per bar, assuming 4 bars per recipe) of this recipe with similar commercially available energy bars. Note that values may vary depending on specific brands and ingredients used. This table uses approximate values for illustrative purposes.
| Nutrient | Homemade Energy Bar | Brand A Energy Bar | Brand B Energy Bar |
|---|---|---|---|
| Calories | 200 | 220 | 250 |
| Protein (g) | 8 | 7 | 9 |
| Fat (g) | 10 | 12 | 15 |
| Carbohydrates (g) | 25 | 28 | 22 |
| Fiber (g) | 5 | 3 | 4 |
Step-by-Step Instructions & Visuals

Creating these egg-free energy bars is a straightforward process, perfect for even the most novice baker. The following steps, coupled with vivid descriptions of the visual changes, will guide you through each stage of the recipe. Remember to always pre-measure your ingredients for a smoother experience.
Dry Ingredient Combination
In this step, we combine the dry ingredients, creating a visually appealing base for our energy bars. The process is simple but crucial for achieving the right texture and consistency.
1. Begin by combining the oats, almond flour, chia seeds, and protein powder in a large mixing bowl.
*Image Description:* A large glass bowl filled with a mixture of light brown oats, finer textured off-white almond flour, tiny dark chia seeds, and a light beige protein powder. The ingredients are not yet mixed, creating a visually distinct layering effect.
2. Stir the dry ingredients together until evenly distributed.
*Image Description:* The same bowl, now containing a uniformly light brown mixture. The individual ingredients are no longer easily distinguishable, creating a homogenous texture. A subtle sheen is visible from the chia seeds and possibly the protein powder.
Wet Ingredient Incorporation
Next, we introduce the wet ingredients, transforming the dry mixture into a cohesive and moldable dough. Pay close attention to the changes in texture and consistency.
3. In a separate bowl, whisk together the maple syrup, peanut butter, and vanilla extract until smooth and creamy.
*Image Description:* A smaller bowl showing a rich, dark amber maple syrup smoothly combined with a creamy, light brown peanut butter. The vanilla extract adds no visible change, but the overall mixture is smooth and glossy.
4. Gradually add the wet ingredients to the dry ingredients, mixing gently until a thick, slightly sticky dough forms.
*Image Description:* The large bowl from Step 2 now contains a darker, more moist mixture. The initially light brown color has deepened, and the texture has transformed from powdery to a sticky, clumping dough. The mixture is no longer easily pourable.
Shaping and Baking
This is where we shape the mixture and prepare it for baking, transforming the dough into the familiar form of energy bars.
5. Line an 8×8 inch baking pan with parchment paper, leaving an overhang on the sides to help with lifting later. Press the dough evenly into the prepared pan.
*Image Description:* An 8×8 inch baking pan lined with parchment paper, showing the slightly sticky dough being pressed firmly and evenly into the pan using the back of a spoon. The dough is uniformly spread, filling the pan completely.
6. Bake in a preheated oven at 350°F (175°C) for 20-25 minutes, or until golden brown and set.
*Image Description:* The baking pan, now in an oven, showing the dough beginning to brown slightly around the edges. The edges are darker than the center, indicating the start of the baking process.
7. Let the bars cool completely in the pan before cutting into squares.
*Image Description:* The baking pan removed from the oven, now containing golden brown, firm energy bars. The bars have a slightly darker crust and a uniformly baked appearance. The parchment paper overhang is clearly visible.
These 5-minute egg-free energy bars are more than just a quick breakfast or snack; they’re a testament to the power of simple, wholesome ingredients transformed into a delicious and energizing treat. The vibrant colors, delightful textures, and customizable flavors make these bars a versatile addition to any diet. From the satisfying chew to the burst of flavor, each bite offers a rewarding experience. So, ditch the processed bars and embrace the ease and deliciousness of homemade goodness. Start your day with a burst of energy and a smile – it’s that simple!
Essential Questionnaire
Can I make these bars ahead of time?
Absolutely! These bars store well, making them ideal for meal prepping. Store them in an airtight container at room temperature for up to 3 days or in the refrigerator for up to a week.
Are these bars suitable for freezing?
Yes, you can freeze these energy bars for longer storage. Wrap them individually in plastic wrap and then place them in a freezer-safe bag. They will keep for up to 2 months.
What if I don’t have all the listed ingredients?
The recipe includes suggestions for substitutions, allowing you to adapt it based on what you have available. Feel free to experiment with different nuts, seeds, and dried fruits to create your unique flavor profile.
Can I adjust the sweetness level?
Yes, you can easily adjust the sweetness by adding more or less of the sweetener according to your preference. Start with the amount specified and taste-test before adding more.


