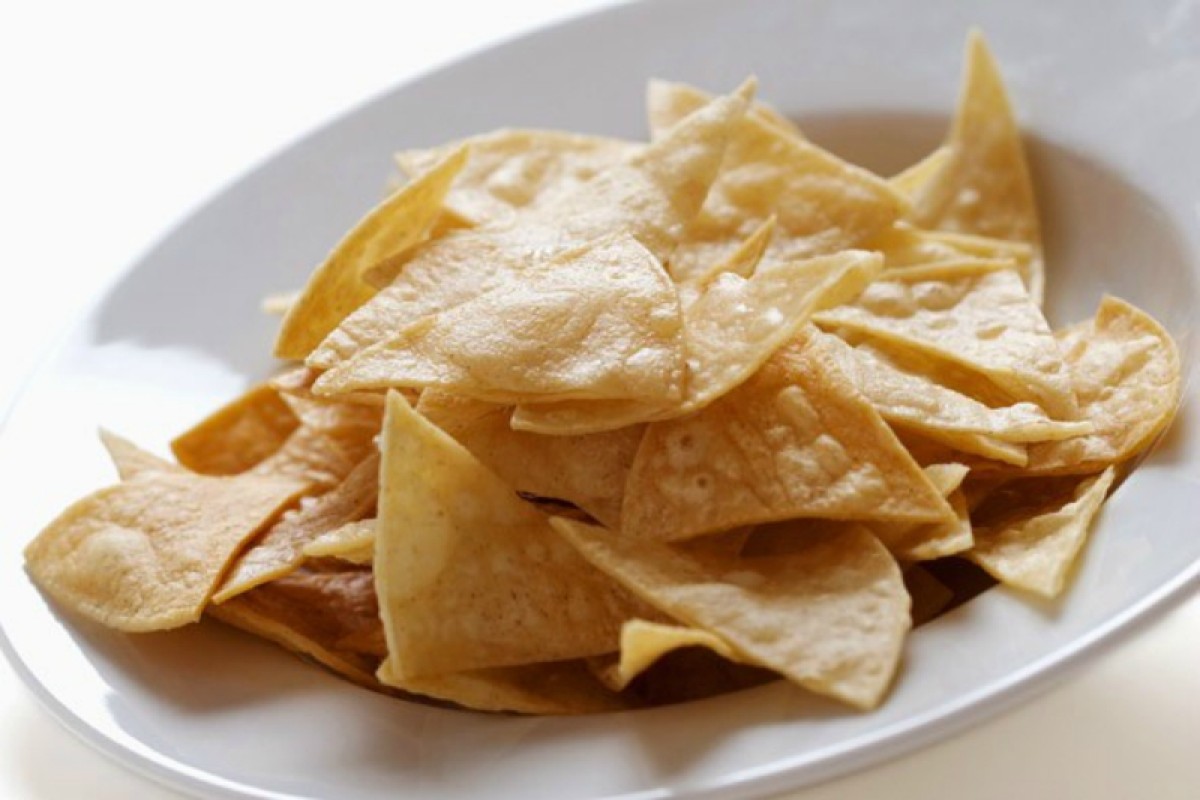
Imagine the satisfying crunch of perfectly baked, homemade paleo chips, bursting with vibrant flavor. Forget store-bought options laden with unhealthy additives; this guide unveils the secrets to crafting your own delicious and nutritious chips from scratch. We’ll explore diverse root vegetables, each lending a unique taste and texture to your culinary creation. From the careful selection of organic ingredients to mastering three distinct cooking methods – oven baking, air frying, and dehydrating – you’ll discover a world of crispy possibilities, tailored to your preferences and dietary needs. Prepare to embark on a flavorful journey, transforming simple vegetables into irresistible paleo delights.
This comprehensive guide not only provides three distinct recipes using sweet potatoes, parsnips, and beets, but also delves into the art of ingredient sourcing, preparation techniques to maximize crispness, and a variety of flavor combinations to tantalize your taste buds. Learn to select the freshest, highest-quality ingredients, and master the nuances of each cooking method to achieve perfectly crunchy chips every time. We’ll also explore creative serving suggestions and smart storage solutions to keep your chips crisp and flavorful for longer.
Cooking Methods and Techniques

Achieving perfectly crunchy paleo chips requires careful attention to cooking method and technique. The desired level of crispness depends on personal preference, but each method offers unique advantages and disadvantages regarding texture, time commitment, and energy efficiency. Below, we explore three popular methods: oven baking, air frying, and dehydrating.
Oven Baking
Oven baking provides a gentle and even cooking process, ideal for achieving a consistently crispy chip. The even heat distribution minimizes burning and ensures all chips reach the desired level of crispness. However, it is generally the most time-consuming method.
- Preheat your oven to 400°F (200°C). Line a baking sheet with parchment paper to prevent sticking.
- Arrange the sliced vegetables or plantains in a single layer on the baking sheet, ensuring they are not overlapping. Overlapping will lead to uneven cooking and steaming instead of crisping.
- Bake for 20-30 minutes, flipping halfway through, until the chips are golden brown and crispy. Thicker slices may require longer cooking times.
- Remove from the oven and let cool completely on a wire rack to maintain crispness. Leaving them on the hot baking sheet will cause them to become soggy.
Air Frying
Air frying offers a faster cooking time compared to oven baking while still producing crispy chips. The rapid circulation of hot air ensures even cooking and minimizes the need for flipping. However, air fryers have a smaller capacity than ovens, limiting the batch size.
- Preheat your air fryer to 400°F (200°C).
- Arrange the sliced vegetables or plantains in a single layer in the air fryer basket, avoiding overcrowding. Overcrowding will impede air circulation and result in uneven cooking.
- Air fry for 10-15 minutes, shaking the basket halfway through, until the chips are golden brown and crispy. Cooking time may vary depending on the thickness of the slices and the air fryer model.
- Remove from the air fryer and let cool completely on a wire rack to maintain crispness.
Dehydrating
Dehydrating produces incredibly crispy chips with a unique texture, often described as “leathery.” This method is energy-efficient and requires minimal attention. However, it’s the most time-consuming method, often taking several hours or even overnight to complete.
- Preheat your dehydrator to 135°F (57°C). This lower temperature ensures even drying and prevents burning.
- Arrange the thinly sliced vegetables or plantains in a single layer on the dehydrator trays, ensuring they are not overlapping. Overlapping hinders airflow and leads to uneven drying.
- Dehydrate for 6-12 hours, or until the chips are completely dry and crispy. Check periodically and rotate the trays for even drying.
- Remove from the dehydrator and let cool completely. These chips will be extremely brittle once cooled.
Creating crunchy paleo chips at home is more than just a recipe; it’s a journey of culinary exploration and mindful eating. By mastering the techniques and flavor combinations Artikeld in this guide, you’ll not only enjoy a healthy and delicious snack but also gain a deeper appreciation for the versatility of simple, wholesome ingredients. From the vibrant hues of beet chips to the earthy sweetness of parsnip crisps, each bite offers a unique sensory experience, a testament to the power of homemade goodness. So, gather your ingredients, embrace the process, and savor the satisfying crunch of your own perfectly crafted paleo chips.
Top FAQs
Can I use other root vegetables besides sweet potatoes, parsnips, and beets?
Yes! Experiment with carrots, turnips, or even jicama for a different flavor and texture.
How long can I store homemade paleo chips?
Stored properly in an airtight container at room temperature, they’ll stay crisp for about 3-5 days. For longer storage, consider freezing them.
What if my chips burn in the oven/air fryer?
Reduce the oven temperature or air fryer setting, and check them more frequently. Ensure even spacing to allow for proper air circulation.
Are there any gluten-free alternatives for seasonings?
Most spices and herbs are naturally gluten-free. Always check labels to be sure.


