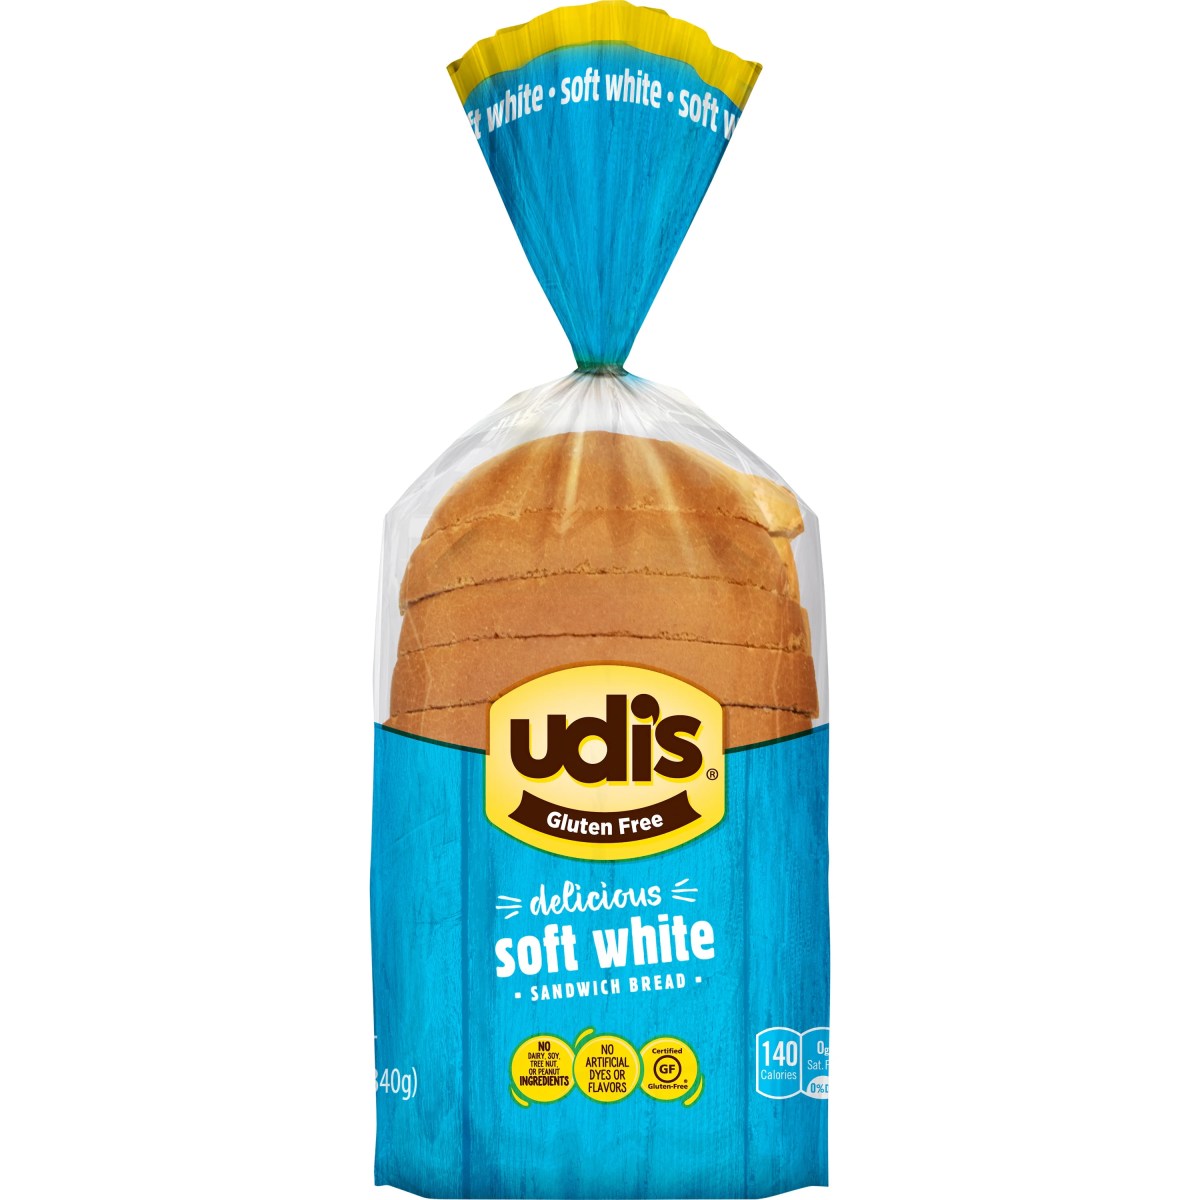
Embark on a culinary adventure as we unravel the secrets to crafting delicious gluten-free bread at home! Forget the dense, dry loaves of the past; this guide empowers you, even as a complete novice, to bake light, airy, and flavorful bread that rivals any bakery. We’ll navigate the nuances of gluten-free flour blends, the magic of binding agents, and the gentle art of kneading—transforming simple ingredients into golden-brown, crusty perfection.
From selecting the right flour blend and understanding the role of xanthan gum to mastering mixing techniques and achieving that perfect rise, we’ll walk you through every step. Imagine the satisfaction of slicing into a warm, homemade loaf, knowing you created something truly special, entirely free of gluten. Let’s begin!
Baking and Cooling

Baking gluten-free bread requires a slightly different approach than baking traditional wheat bread. The lack of gluten means the dough doesn’t develop the same structure, resulting in a potentially more delicate and crumbly loaf. Careful attention to oven temperature, baking time, and cooling methods is crucial for achieving a moist, well-structured gluten-free loaf.
The successful baking of gluten-free bread hinges on achieving the perfect balance of heat and moisture. Too much heat can lead to a dry, hard crust, while insufficient heat can result in a gummy interior. Monitoring the internal temperature is key, and a careful cooling process prevents sogginess.
Oven Temperature and Baking Time
Preheating your oven to the correct temperature is paramount. Most gluten-free bread recipes call for an oven temperature between 350°F (175°C) and 375°F (190°C). However, always refer to your specific recipe, as variations exist depending on ingredients and desired texture. Baking time typically ranges from 45 to 60 minutes, but again, this is recipe-dependent. A visual cue that the bread is done is a deep golden-brown crust. More importantly, an instant-read thermometer inserted into the center of the loaf should register an internal temperature of 200-210°F (93-99°C). This ensures the bread is fully baked through. If the internal temperature is lower, continue baking in 5-minute increments until the desired temperature is reached. Overbaking, however, can lead to a dry crumb.
Addressing Common Baking Issues
Gluten-free bread can present unique challenges. A common issue is a crumbly or dense texture. This often stems from overmixing the batter, which develops too much gluten-free flour structure, leading to a tough result. Conversely, undermixing can result in a crumbly, uneven texture. Another common problem is dryness. This is frequently caused by overbaking or using too much gluten-free flour blend. Adding extra moisture, such as an egg or applesauce, can help combat dryness. Finally, the use of xanthan gum or another binding agent is critical in providing structure and moisture retention. Insufficient binding agent can lead to a very crumbly loaf. Experimentation with the amount of binding agent in your recipe might be necessary to achieve optimal results.
Cooling the Gluten-Free Loaf
Proper cooling is essential for preventing a soggy bottom and ensuring the best texture. The heat from baking continues to cook the bread even after removal from the oven. Trapping this heat can lead to undesirable results.
- First, remove the bread from the baking pan immediately after removing it from the oven. The residual heat in the pan can continue to cook the bread from the bottom, leading to sogginess.
- Next, place the loaf on a wire rack. This allows for air circulation around the entire loaf, promoting even cooling and preventing moisture build-up.
- Allow the bread to cool completely at room temperature before slicing. This usually takes around 2-3 hours. Cutting into the bread while it’s still warm can result in a gummy or uneven texture.
- Once cooled, store the bread in an airtight container at room temperature for up to 3 days, or freeze for longer storage. Freezing helps maintain the bread’s freshness.
Recipe and Step-by-Step Instructions
This recipe yields a delightfully moist and subtly sweet gluten-free loaf, perfect for toast, sandwiches, or simply enjoying with butter. The crumb structure will be tender and slightly airy, avoiding the dense, gummy texture sometimes associated with gluten-free bread. The key is using a blend of gluten-free flours to mimic the properties of wheat flour, along with the addition of xanthan gum for binding.
This section provides a detailed recipe and step-by-step instructions for creating this delicious gluten-free bread at home. Each step is clearly explained to ensure a successful baking experience, even for beginners.
Ingredients
- 1 cup (125g) gluten-free all-purpose flour blend (containing rice flour, tapioca starch, and potato starch)
- ½ cup (60g) brown rice flour
- 1 teaspoon xanthan gum
- 1 teaspoon baking powder
- ½ teaspoon baking soda
- ½ teaspoon salt
- 1 tablespoon granulated sugar
- 1 ¼ cups (300ml) lukewarm water
- 2 tablespoons olive oil
- 1 large egg
Instructions
This section Artikels the step-by-step process for making the gluten-free bread. Precise measurements and careful attention to detail are crucial for achieving optimal results.
- Preheat your oven to 375°F (190°C). Grease and flour a 9×5 inch loaf pan. Imagine the smooth, glistening surface of the pan, ready to receive the golden-brown bread.
- In a large bowl, whisk together the gluten-free flour blend, brown rice flour, xanthan gum, baking powder, baking soda, salt, and sugar. Visualize the dry ingredients forming a light, fluffy cloud within the bowl.
- In a separate bowl, whisk together the lukewarm water, olive oil, and egg. Picture the liquids gently blending, creating a smooth and slightly viscous mixture.
- Pour the wet ingredients into the dry ingredients and gently stir until just combined. Do not overmix; a few lumps are acceptable. Imagine the batter slowly coming together, forming a slightly sticky but cohesive dough.
- Pour the batter into the prepared loaf pan and spread evenly. Picture the batter settling into the pan, filling it to the brim, ready to rise in the oven.
- Bake for 50-60 minutes, or until a toothpick inserted into the center comes out clean. The bread should be golden brown and have a slightly firm texture to the touch. Imagine the warm, aromatic loaf emerging from the oven, its crust a rich golden hue.
Baking Time and Temperature
The baking time and temperature are crucial for achieving a perfectly baked loaf. Baking at too low a temperature for too long will result in a dense loaf, while baking at too high a temperature for too short a time will leave the inside underbaked.
Oven Temperature: 375°F (190°C)
Baking Time: 50-60 minutes
Expected Texture and Crumb Structure
The finished bread will have a soft, tender crumb with a slightly moist texture. The crust will be a light golden brown, with a slightly crisp exterior. The crumb should be relatively even, with small, irregular air pockets distributed throughout. Imagine slicing into the loaf to reveal a soft, airy interior, with a pleasing contrast between the tender crumb and the slightly crisp crust.
Baking gluten-free bread might seem daunting at first, but with the right knowledge and a little practice, it becomes a rewarding and enjoyable process. You’ve now explored the essential techniques, from ingredient selection and mixing to shaping and baking, equipping you to confidently create your own gluten-free masterpieces. Remember, the key is gentle handling, precise measurements, and a touch of patience. So, dust off your baking tools, gather your ingredients, and prepare to experience the joy of homemade gluten-free bread. The aroma alone is worth the effort!
Clarifying Questions
Can I substitute one gluten-free flour blend for another?
While you can substitute, results may vary. Different blends have different absorption rates and protein levels, affecting texture and rise. Start with a recipe specifically designed for your chosen blend for best results.
How do I store leftover gluten-free bread?
Store gluten-free bread in an airtight container at room temperature for up to 3 days, or freeze it for longer storage. Freezing helps maintain freshness.
My gluten-free bread is crumbly. What went wrong?
Crumbly bread often indicates insufficient liquid or over-mixing. Ensure you’ve accurately measured your ingredients and handled the dough gently.
Why is my gluten-free bread dense?
Density can be caused by under-proofing (not allowing enough time for the dough to rise), over-mixing, or using too little leavening agent. Check your recipe and technique.


