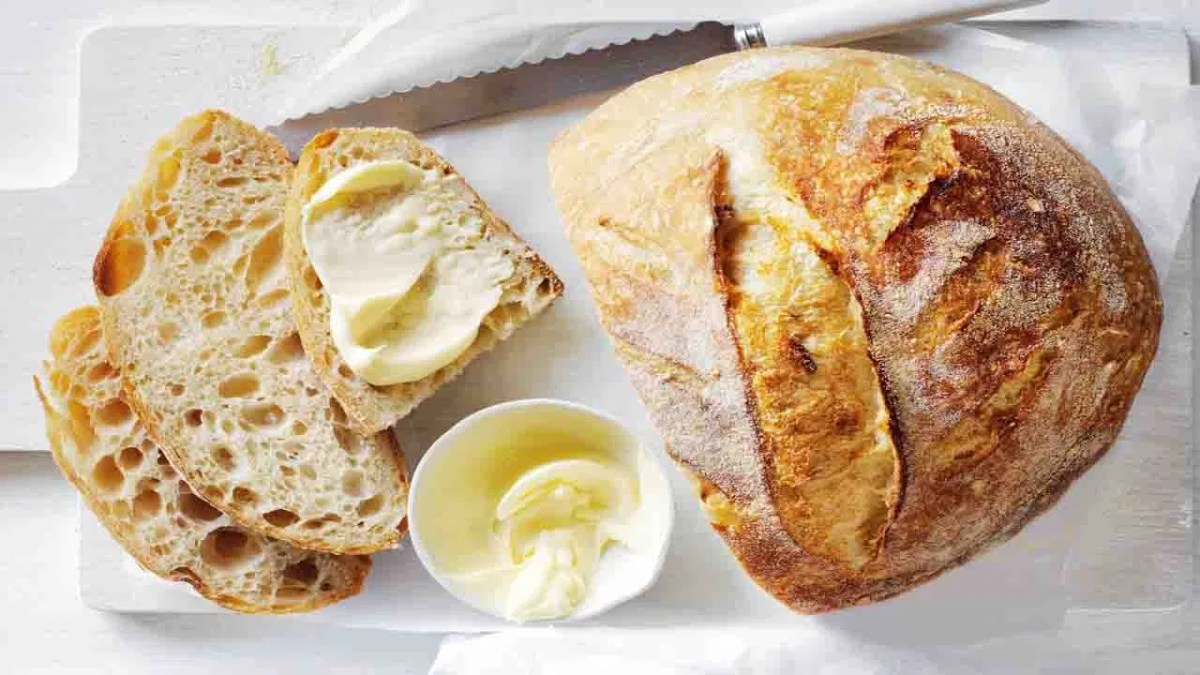
Embark on a culinary journey to craft delectable, gut-friendly bread! This comprehensive guide unveils the secrets to creating light, airy gluten-free and dairy-free bread, perfectly tailored for sensitive stomachs. We’ll explore a range of flour blends, dairy-free milk alternatives, and kneading techniques, ensuring a digestible and flavorful loaf every time. Prepare to transform your baking experience and discover the joy of creating bread that nourishes both body and soul.
From selecting the optimal gluten-free flour blend – picturing the fine grains cascading into the bowl – to mastering the gentle kneading process, each step is meticulously detailed. Imagine the warm, inviting aroma filling your kitchen as your bread bakes to golden perfection. We’ll explore various flavor enhancements, offering a symphony of tastes to tantalize your palate. This isn’t just a recipe; it’s a journey towards delicious, healthy baking.
Mixing and Kneading Techniques for Sensitive Stomachs

Creating a light and airy gluten-free dairy-free bread requires a gentle hand and a keen understanding of the unique properties of gluten-free flours. Unlike wheat flour, gluten-free blends lack gluten, the protein that provides elasticity and structure. This necessitates a different approach to mixing and kneading to achieve a desirable texture and enhance digestibility. Over-mixing can lead to a tough, dense loaf, potentially exacerbating digestive sensitivities.
Proper hydration is paramount in gluten-free baking. Insufficient hydration results in a dry, crumbly bread that is difficult to digest. Conversely, excessive hydration can create a gummy or sticky texture. Finding the perfect balance is key to producing a bread that is both delicious and easily tolerated by sensitive stomachs. The ideal hydration level will depend on the specific gluten-free flour blend used, but generally aims for a dough that is moist but not overly wet.
Optimal Mixing Method for Light and Airy Gluten-Free Bread
The best approach for mixing gluten-free dairy-free bread involves a gentle, less-is-more philosophy. Begin by combining the dry ingredients – gluten-free flour blend, leavening agents (baking powder and/or yeast), and salt – in a large bowl. Whisk thoroughly to ensure even distribution. In a separate bowl, combine the wet ingredients – liquids (water, milk alternative), eggs (if using), and oil – and whisk until well blended. Gradually add the wet ingredients to the dry ingredients, mixing with a spatula or wooden spoon until just combined. Avoid over-mixing, as this can develop the gluten-free flour’s starches and result in a tough final product. The dough should be slightly sticky, but not overly wet or difficult to handle. The goal is to create a moist and cohesive dough without excessive development. Imagine the gentle folding of a delicate crepe batter; this is the level of care needed.
The Importance of Hydration in Gluten-Free Bread Making
Proper hydration plays a crucial role in the digestibility of gluten-free bread. Adequate hydration helps to create a softer, more tender crumb. This improved texture is easier on the digestive system compared to a dry, crumbly loaf that can be difficult to break down. A well-hydrated gluten-free dough also facilitates the even distribution of the other ingredients, preventing pockets of dry flour that could contribute to digestive discomfort. Think of it like this: a properly hydrated dough is like a well-oiled machine, all parts working smoothly together. An under-hydrated dough is like a rusty engine, clunky and prone to malfunction.
Gentle Handling of Gluten-Free Dough
Gluten-free doughs are inherently more delicate than their wheat-based counterparts. Aggressive kneading is unnecessary and can actually damage the delicate structure of the dough, resulting in a dense, tough loaf. Instead of kneading, gently fold the dough over itself a few times to combine the ingredients. This gentle folding action ensures that the dough remains light and airy. Visualize the delicate manipulation of a soufflé – a light touch is essential to maintain its airy texture. Avoid any vigorous actions that might compress the dough and lead to a less desirable final product.
Baking and Rising Processes
Baking gluten-free dairy-free bread requires a delicate balance of temperature and time to achieve a light, airy crumb and a golden-brown crust. The specific flour blend and chosen milk alternative significantly influence the ideal baking parameters, necessitating careful attention to detail throughout the process. Understanding the impact of proofing methods is also crucial for optimizing texture and flavor development.
The ideal baking temperature for gluten-free dairy-free bread typically ranges from 350°F (175°C) to 375°F (190°C). Lower temperatures promote a gentler rise, resulting in a softer crumb, while higher temperatures create a crispier crust, though potentially at the cost of some moisture. Baking time depends heavily on the loaf size and the chosen flour blend; a smaller loaf might bake in 45-50 minutes, whereas a larger one may require 60-75 minutes. A toothpick inserted into the center should come out clean when the bread is fully baked. Using a dark-colored baking pan can also accelerate the baking process due to increased heat absorption.
Baking Temperature and Time
The selection of baking temperature and time is crucial for achieving optimal results with gluten-free dairy-free bread. For instance, a blend rich in almond flour might require a slightly lower temperature and longer baking time compared to a blend primarily using tapioca starch, which tends to bake faster. Similarly, using a coconut milk alternative might necessitate a slightly higher temperature to compensate for its higher moisture content. Visual cues, such as a deep golden-brown crust and a springy texture when gently pressed, signal that the bread is properly baked. A digital oven thermometer can be invaluable in ensuring accurate temperature control.
Proofing Methods
Proofing, or the final rise of the dough before baking, significantly impacts the texture and flavor of the finished bread. Room temperature proofing, typically lasting 1-2 hours, promotes a faster rise and often results in a slightly more open crumb structure. However, this method is susceptible to temperature fluctuations, which can negatively impact the rise. Refrigerator proofing, on the other hand, slows down the fermentation process, leading to a more complex flavor development and a denser crumb. This method is ideal for scheduling baking and ensures a more controlled rise, particularly in environments with fluctuating temperatures. Imagine the contrast: a room temperature proofed loaf might exhibit a light, airy texture with subtle flavors, while a refrigerator proofed loaf offers a denser, chewier texture with richer, more nuanced flavors.
Step-by-Step Baking Guide
Before baking, ensure your oven is preheated to the appropriate temperature, as indicated by your recipe and chosen flour blend. The dough should have a smooth, slightly sticky consistency after mixing and kneading.
- Grease and flour the baking pan: Generously grease a loaf pan (or other chosen pan) with coconut oil or dairy-free butter, then dust lightly with gluten-free flour. This prevents sticking and ensures easy removal. The visual should be a well-greased pan with a thin, even coating of flour.
- Transfer the dough: Gently pour or spoon the dough into the prepared pan, ensuring it’s evenly distributed. The dough should appear relatively smooth, with a slightly moist but not overly wet surface.
- First rise (proofing): Allow the dough to rise according to the chosen method (room temperature or refrigerator). During room temperature proofing, the dough will visibly expand and become lighter in color, showing signs of air pockets. Refrigerator proofing will show less dramatic changes, but the dough will still increase slightly in size.
- Bake: Place the pan in the preheated oven and bake according to the recipe’s instructions. Keep an eye on the bread during the final stages of baking to prevent burning. The crust should gradually deepen in color, becoming a rich golden brown.
- Cool: Once baked, remove the bread from the oven and let it cool in the pan for 10-15 minutes before transferring it to a wire rack to cool completely. This prevents the bread from becoming soggy and allows the internal structure to set properly. The bread will still feel warm to the touch, but the internal temperature will be safely below the burning point.
Creating gluten-free and dairy-free bread for sensitive stomachs needn’t be daunting. By following the techniques and recipes Artikeld in this guide, you’ll gain the confidence to produce consistently delicious and digestible loaves. Visualize the satisfaction of slicing into a perfectly risen, golden-brown loaf, its texture soft and airy, its flavor a delightful surprise. Embrace the possibilities, experiment with different flavors, and savor the rewards of your culinary creation. Enjoy the journey, and happy baking!
Q&A
Can I use a bread machine for this recipe?
While adaptable, some adjustments to hydration and kneading cycles might be needed. Consult your bread machine’s manual for specific gluten-free settings.
How long does this bread stay fresh?
Properly stored, this bread will stay fresh for 3-4 days at room temperature, or up to a week refrigerated. Freezing is also an option.
What if my bread is too dense?
This could be due to insufficient hydration or overmixing. Ensure proper hydration and use gentle mixing techniques.
Are there any substitutions for xanthan gum?
Psyllium husk powder can be used as a partial substitute, but the texture might differ slightly.


