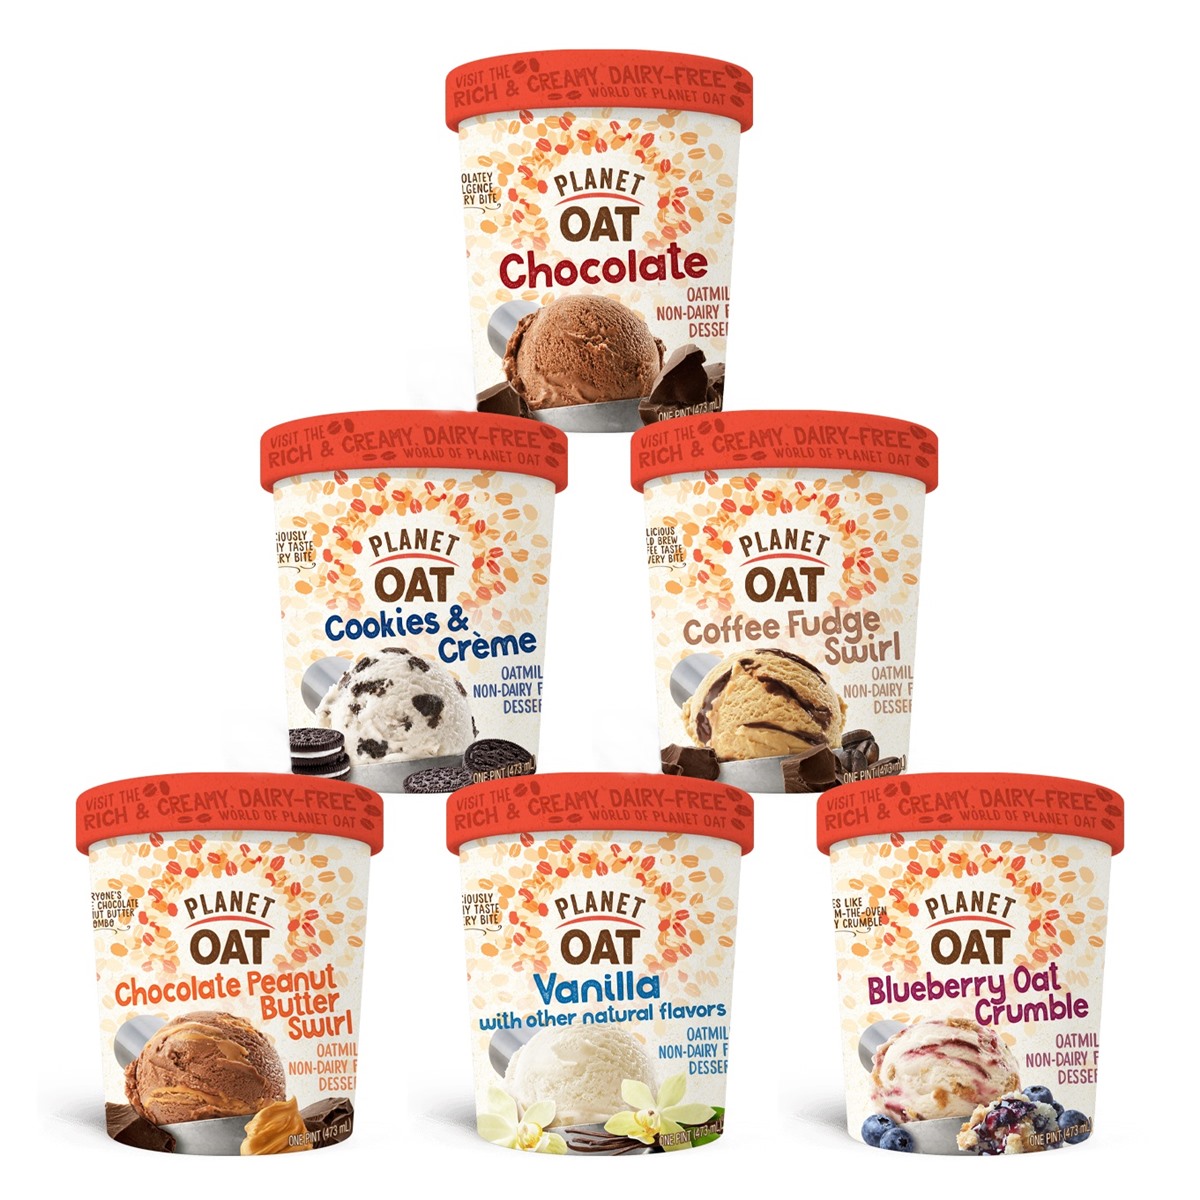
Indulge in the creamy delight of homemade ice cream without the usual suspects – dairy, eggs, and nuts! This guide unveils the secrets to crafting delectable, allergy-friendly frozen treats. Discover a world of possibilities using plant-based milks, innovative thickeners, and exciting flavor combinations. Prepare to transform simple ingredients into a symphony of textures and tastes, perfect for satisfying any sweet craving without compromise.
We’ll explore various dairy-free milk alternatives, from the rich coconut milk to the subtly sweet oat milk, and delve into the science of achieving that perfect creamy texture using natural thickeners like cornstarch and arrowroot powder. Learn how to avoid common pitfalls like ice crystals and grainy consistency, and unlock the potential of creating countless unique flavor profiles. Whether you’re vegan, have allergies, or simply seeking exciting new culinary adventures, this comprehensive guide will empower you to make unbelievably delicious dairy-free ice cream at home.
Recipe Variations for Different Dairy-Free Ice Creams
This section explores diverse dairy-free, egg-free, and nut-free ice cream recipes, showcasing the versatility of plant-based milks and highlighting techniques for achieving a smooth, creamy texture. Each recipe offers a unique flavor profile and demonstrates how simple it is to create delicious frozen treats without common allergens.
Coconut Milk Ice Cream
This recipe uses the richness of full-fat coconut milk for a luxuriously creamy texture. The subtle sweetness of coconut complements a variety of mix-ins.
| Ingredient | Quantity | Notes |
|---|---|---|
| Full-fat Coconut Milk | 2 cans (13.5 oz each) | Refrigerate overnight for easier separation of cream |
| Sugar | 1 cup | Adjust to your sweetness preference |
| Vanilla Extract | 2 tsp | Enhances the creamy flavor |
| Pinch of Salt | Balances sweetness |
Oat Milk Ice Cream
Oat milk provides a naturally subtly sweet and creamy base for this ice cream. Its mild flavor allows other ingredients to shine.
| Ingredient | Quantity | Notes |
|---|---|---|
| Unsweetened Oat Milk | 2 cups | Choose a thick variety for best results |
| Maple Syrup | ¾ cup | Adjust to desired sweetness |
| Cocoa Powder | ¼ cup | Unsweetened cocoa powder is recommended |
| Vanilla Extract | 1 tsp | Adds depth of flavor |
Soy Milk Ice Cream
Soy milk offers a neutral canvas for a variety of flavors. This recipe demonstrates a refreshing, citrusy option.
| Ingredient | Quantity | Notes |
|---|---|---|
| Unsweetened Soy Milk | 2 cups | Use a full-bodied variety |
| Lemon Juice | 2 tbsp | Adds a bright, tart flavor |
| Sugar | ½ cup | Adjust to taste |
| Lemon Zest | 1 tbsp | Adds aromatic complexity |
Fruit-Based Ice Cream
This recipe uses the natural sweetness of frozen fruit and a simple thickener to create a vibrant, refreshing ice cream. The key to a smooth texture is to thoroughly puree the fruit before freezing.
Imagine a vibrant, deep crimson swirl of strawberry ice cream, its texture as smooth as silk. This is achieved by pureeing the frozen strawberries until completely smooth, eliminating any ice crystals. A touch of cornstarch or tapioca starch acts as a natural thickener, ensuring the perfect consistency.
| Ingredient | Quantity | Notes |
|---|---|---|
| Frozen Mixed Berries (strawberries, raspberries, blueberries) | 4 cups | Use high-quality frozen fruit for best flavor |
| Cornstarch | 1 tbsp | Mix with a little water before adding |
| Lemon Juice | 1 tbsp | Enhances the fruit flavor and prevents browning |
Chocolate Ice Cream
This recipe uses cocoa powder and a dairy-free milk alternative to create a rich, decadent chocolate ice cream. Preventing ice crystals requires a slow churning process and incorporating a small amount of fat.
The deep, dark brown of the chocolate ice cream, almost velvety in its appearance, is a testament to the careful incorporation of cocoa powder. The subtle shine speaks to the smooth texture achieved by using full-fat coconut milk and ensuring the mixture is properly chilled before churning.
| Ingredient | Quantity | Notes |
|---|---|---|
| Full-fat Coconut Milk | 2 cans (13.5 oz each) | Provides richness and prevents ice crystals |
| Cocoa Powder | ½ cup | Use unsweetened cocoa powder |
| Sugar | 1 cup | Adjust to your preferred sweetness |
| Vanilla Extract | 1 tsp | Complements the chocolate flavor |
Step-by-Step Guide to Making Dairy-Free Ice Cream

Creating dairy-free ice cream allows for delicious and inclusive frozen treats, free from common allergens. This guide provides a detailed, step-by-step process to achieve a smooth, creamy texture without the use of dairy, eggs, or nuts. The key to success lies in careful ingredient preparation and a thorough understanding of the freezing process.
Ingredient Preparation
Before beginning the ice cream making process, meticulous preparation of ingredients is crucial for a superior final product. Properly measuring and combining ingredients ensures the right consistency and flavor profile.
- Begin by gathering all your ingredients. This typically includes a dairy-free milk alternative (like coconut milk, oat milk, or soy milk), a sweetener (such as maple syrup, agave nectar, or sugar), and a thickener (like cornstarch or xanthan gum). You may also include flavorings like vanilla extract, cocoa powder, or fruit purees.
- If using a thickener like cornstarch, whisk it smoothly into a small amount of the chosen milk alternative to create a slurry, preventing lumps from forming later.
- Measure out your sweetener and flavorings. Ensure accurate measurements to achieve your desired level of sweetness and flavor intensity.
- Combine all ingredients in a medium-sized saucepan. Gently heat the mixture over medium heat, stirring constantly, until it just begins to simmer. Do not boil.
- Remove the mixture from the heat and allow it to cool completely. This cooling step is critical for proper thickening and preventing ice crystal formation during freezing.
Chilling the Mixture
Chilling the ice cream base before freezing is a paramount step, often overlooked, yet vital for achieving a smooth, creamy texture. This process allows the mixture to thicken properly and prevents the formation of large ice crystals.
The cold temperature allows the thickeners to fully activate and create a more viscous base. Without adequate chilling, the ice cream will likely have a grainy or icy texture upon freezing. Ideally, chill the mixture for at least four hours, or preferably overnight, in the refrigerator. This extended chilling time ensures optimal results.
Freezing the Ice Cream
Once the mixture is thoroughly chilled, the freezing process can begin. Several methods exist, each impacting the final texture.
- Using an Ice Cream Maker: Pour the chilled mixture into your ice cream maker and churn according to the manufacturer’s instructions. This method typically produces a very smooth texture.
- Freezing in a Container: Pour the chilled mixture into a freezer-safe container. Cover the container tightly to prevent ice crystals from forming. Every hour or two, remove the ice cream from the freezer and stir vigorously to break up any forming ice crystals. This process requires more effort but yields acceptable results.
Preventing Ice Crystal Formation
Ice crystals are the enemy of smooth, creamy ice cream. Several techniques can help minimize their formation.
- Thorough Chilling: As previously mentioned, chilling the mixture for an extended period is crucial for preventing ice crystal formation. The colder the base, the slower the freezing process, resulting in smaller ice crystals.
- Frequent Stirring (for no-churn methods): If freezing in a container, regular stirring breaks up forming ice crystals, preventing them from growing too large.
- Using a High-Quality Thickener: Xanthan gum, in particular, is effective at creating a smooth, creamy texture and inhibiting ice crystal formation.
- Avoid Over-Freezing: Over-freezing can lead to a hard, icy texture. Allow the ice cream to soften slightly before serving.
Creating dairy-free, egg-free, and nut-free ice cream opens a world of culinary creativity. From the velvety smoothness of coconut-based delights to the refreshing lightness of fruit sorbets, the possibilities are endless. By mastering the techniques Artikeld in this guide, you can confidently experiment with diverse flavors and ingredients, crafting personalized ice cream masterpieces tailored to your preferences. So, gather your ingredients, embrace the process, and prepare to delight your taste buds with the incredible results of your homemade, allergy-friendly ice cream.
Detailed FAQs
Can I use a regular blender instead of an ice cream maker?
Yes, but the texture might be slightly icier. You’ll need to blend the mixture thoroughly, then freeze it in a shallow container, stirring every 30-60 minutes to break up ice crystals. This method requires more effort but yields edible results.
How long does dairy-free ice cream last?
Store your homemade dairy-free ice cream in an airtight container in the freezer. It should last for 2-3 weeks, but the quality might decrease after that time.
What if my ice cream is too icy?
This often happens if the mixture wasn’t chilled sufficiently before freezing or if it was frozen too quickly. Try chilling the mixture for longer next time and consider using a slower freezing method.
Can I add alcohol to my dairy-free ice cream?
Yes! A small amount of alcohol, such as rum or liqueur, can add a delightful dimension to the flavor. Just be mindful that it may slightly lower the freezing point.


