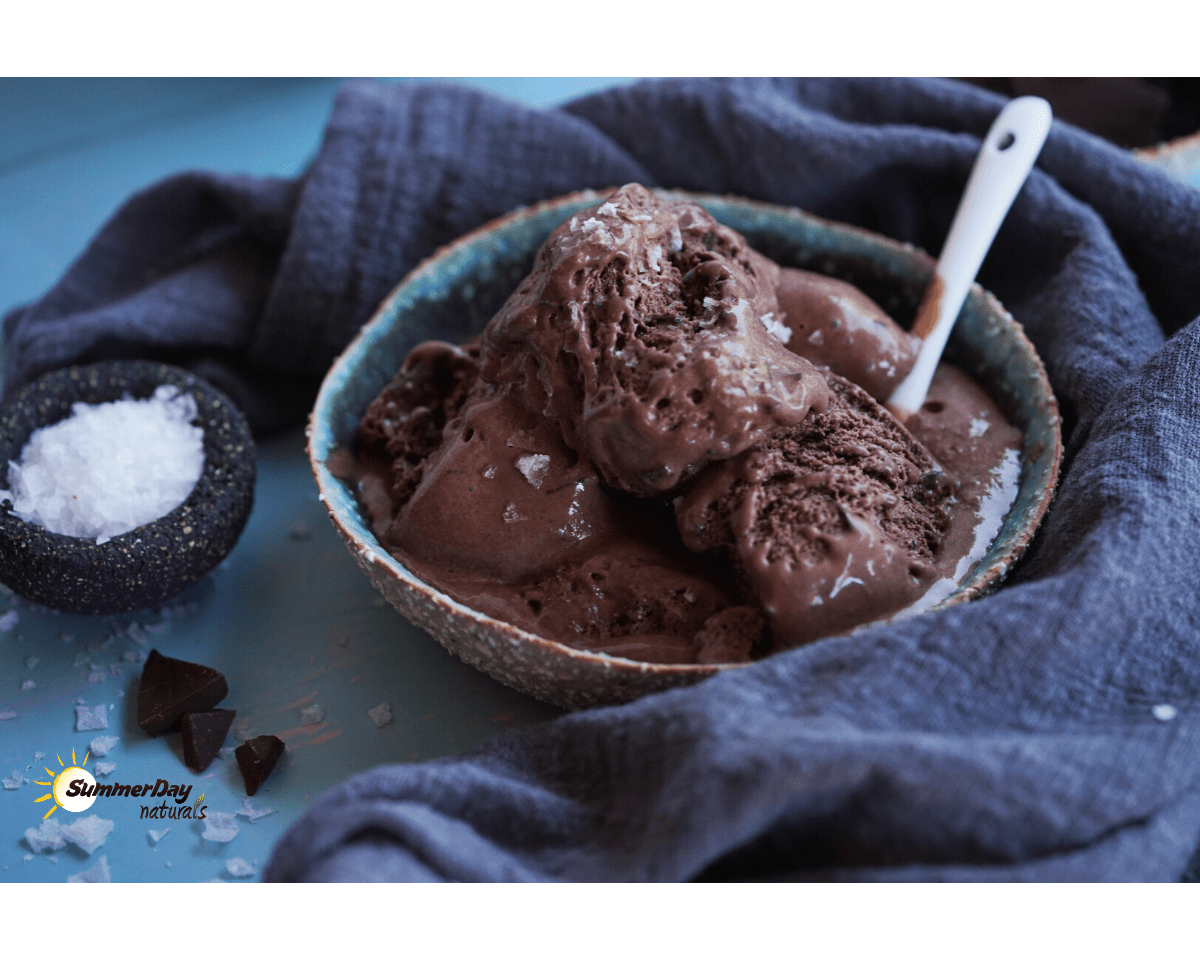
Imagine creamy, dreamy ice cream, bursting with natural flavors and free from refined sugars and dairy. This isn’t a fantasy; it’s the delicious reality of homemade paleo ice cream. Forget artificial ingredients and processed sweetness – this guide unveils the secrets to crafting decadent, healthy frozen treats using only nature’s finest ingredients. Prepare to explore a world of vibrant flavor combinations, from rich coconut-based bases to refreshing fruit-infused delights. Get ready to tantalize your taste buds and satisfy your sweet cravings the healthy way!
We’ll walk you through selecting the perfect paleo-friendly ingredients, mastering creamy base techniques, and experimenting with endless flavor variations. Discover the art of achieving the ideal texture, preventing ice crystals, and storing your creation to maintain its pristine quality. From simple vanilla to exotic fruit swirls, this comprehensive guide provides everything you need to transform your kitchen into a paleo ice cream parlor.
Ingredient Selection and Preparation

Crafting delectable paleo ice cream hinges on selecting the right ingredients and preparing them meticulously. The creamy texture and delightful flavor profile depend heavily on the quality and preparation of your chosen components. This section details the essential ingredients, their nutritional benefits, potential substitutes, and step-by-step preparation instructions.
Paleo-Friendly Ice Cream Ingredients
A variety of ingredients lend themselves beautifully to paleo ice cream making. These ingredients not only contribute to the creamy texture and delicious taste but also offer a range of nutritional benefits.
- Full-Fat Coconut Milk: Provides a rich, creamy base and healthy fats. Look for full-fat canned coconut milk for the best results. The thicker cream from the top of the can is ideal.
- Avocado: Adds creaminess and healthy fats, contributing to a smooth, luxurious texture. Its mild flavor blends seamlessly into various ice cream recipes. Choose ripe, soft avocados for the best results.
- Nuts and Seeds: Almonds, cashews, macadamia nuts, and sunflower seeds offer healthy fats, protein, and fiber. Toasting nuts before blending enhances their flavor and creates a more intense aroma.
- Fruits: Berries, bananas, mangoes, and other naturally sweet fruits add flavor and sweetness. Frozen fruits are particularly useful as they contribute to the ice cream’s freezing process. Blending fruits into a smooth puree before adding them to the ice cream base is recommended.
- Paleo Sweeteners: Honey, maple syrup, and dates provide sweetness. The choice depends on individual preference and desired flavor profile.
- Unsweetened Cocoa Powder: Adds rich chocolate flavor to your creations. Choose a high-quality, unsweetened cocoa powder for the best taste.
- Vanilla Extract: Enhances the overall flavor profile and adds a touch of elegance.
- Spices: Cinnamon, nutmeg, cardamom, and other spices can be used to create unique and complex flavor combinations.
Ingredient Preparation Techniques
Proper preparation of ingredients is crucial for achieving the desired texture and flavor in your paleo ice cream.
- Toasting Nuts: Spread nuts in a single layer on a baking sheet and toast in a preheated oven at 350°F (175°C) for 8-10 minutes, or until fragrant and lightly browned. Constantly monitor to prevent burning.
- Blending Fruits: For a smoother ice cream texture, blend frozen or fresh fruits into a puree using a high-speed blender. This ensures a consistent consistency and prevents chunks of fruit in the final product.
- Preparing Coconut Milk: Scoop out the thick cream from the top of a can of full-fat coconut milk, leaving the watery liquid behind. This concentrated cream contributes significantly to the ice cream’s richness and texture.
- Preparing Dates: If using dates as a sweetener, pit and roughly chop them before blending them into a paste. Soaking dates in warm water for 10-15 minutes softens them, making them easier to blend into a smooth paste.
Nutritional Comparison of Paleo Sweeteners
The choice of sweetener impacts both the flavor and nutritional profile of your paleo ice cream. The following table compares three common options:
| Sweetener | Calories per Tablespoon | Sugar Content (per Tablespoon) | Other Nutritional Benefits |
|---|---|---|---|
| Honey | 64 | 17g | Antioxidants, trace minerals |
| Maple Syrup | 52 | 13g | Manganese, zinc |
| Dates (paste) | ~40 (approx, depending on date type and water content) | ~9g (approx, depending on date type and water content) | Fiber, potassium |
Base Creation Techniques
Crafting the perfect paleo ice cream hinges on building a rich and creamy base. The choice of fat source significantly impacts both the final texture and flavor profile, offering a range of possibilities from subtly sweet and creamy to intensely rich and decadent. Understanding the nuances of different paleo-friendly fats is crucial for achieving your desired outcome.
Coconut milk, avocado, and cashew cream are popular choices for creating a smooth and luxurious base. Coconut milk, particularly full-fat canned varieties, provides a naturally sweet and slightly coconutty flavor, lending itself well to tropical-inspired ice creams. Avocado, surprisingly, adds a remarkably creamy texture without imparting a strong avocado flavor, making it an ideal neutral base for a wide array of flavors. Cashew cream, made by soaking and blending cashews, contributes a velvety smoothness and a subtly nutty undertone.
Fat Source Comparison
The type of fat you choose dramatically influences the final texture and mouthfeel of your paleo ice cream. Coconut oil, for example, contributes a unique, slightly sweet flavor and a firm, almost fudge-like texture when frozen. Avocado oil, on the other hand, offers a neutral flavor profile and results in a smoother, less dense ice cream. The difference is subtle but noticeable; coconut oil lends itself to richer, more intensely flavored ice creams, while avocado oil provides a more delicate and versatile base. Consider the desired flavor profile and texture when making your selection.
Basic Paleo Ice Cream Base: A Step-by-Step Guide
This guide details the creation of a versatile base suitable for various flavor additions. Precise temperature control and thorough blending are key to achieving optimal results.
- Chill Ingredients: Begin by chilling all ingredients thoroughly. This is crucial for achieving a smooth and creamy texture. Cold ingredients blend more easily and prevent the ice cream from becoming icy.
- Combine and Blend: In a high-powered blender, combine your chosen base ingredients (e.g., 1 can full-fat coconut milk, 1 ripe avocado, ¼ cup cashew cream, and your chosen sweetener). Blend until completely smooth and creamy, scraping down the sides as needed. A well-blended base is essential for a smooth final product.
- Adjust Consistency: Taste and adjust the sweetness and consistency as desired. If the mixture is too thick, add a tablespoon of water or more of your chosen liquid (e.g., coconut milk) at a time until you reach your preferred consistency. If it’s too thin, add a spoonful of coconut flour to thicken it slightly.
- Strain (Optional): For an exceptionally smooth ice cream, strain the mixture through a fine-mesh sieve to remove any small lumps or fibers. This step is optional but recommended for a supremely luxurious texture.
- Freeze: Pour the blended mixture into a freezer-safe container and freeze for at least 4 hours, or until solid. For optimal texture, stir or churn the ice cream every 30-60 minutes during the first two hours of freezing to break up ice crystals. A dedicated ice cream maker can significantly improve texture, eliminating the need for manual stirring.
Recipe and Step-by-Step Guide
This section provides a detailed recipe and step-by-step guide for creating a creamy, delicious paleo vanilla ice cream at home. The process is straightforward, requiring readily available ingredients and simple techniques. The result is a refreshing treat that’s both healthy and satisfying.
Paleo Vanilla Ice Cream Recipe
This recipe yields approximately 1 quart of ice cream.
Ingredients:
- 2 cups full-fat coconut milk (refrigerated overnight)
- 1 cup heavy cream (refrigerated overnight)
- 1/2 cup honey or maple syrup (adjust to your sweetness preference)
- 1 teaspoon pure vanilla extract
- 1/4 teaspoon sea salt
- Optional: 1/4 cup unsweetened shredded coconut for texture
Instructions:
This recipe uses a simple method relying on the freezing capabilities of your home freezer. For smoother results, consider using an ice cream maker.
Step-by-Step Ice Cream Making Process
Step 1: Chilling and Separating
Begin by ensuring both the coconut milk and heavy cream have been refrigerated overnight. This is crucial for achieving a creamy texture. A picture would show two containers in the refrigerator, the coconut milk visibly separated into a creamy top layer and a watery bottom layer. The heavy cream would appear thick and homogenous. The visual contrast highlights the importance of chilling.
Step 2: Coconut Milk Preparation
Carefully scoop out the thick, solidified coconut cream from the top of the refrigerated coconut milk can, leaving behind the watery liquid. This separation is key to achieving a rich, creamy texture. An image here would show a spoon scooping the thick cream from the top, leaving the thinner liquid behind. The creamy texture would be visually apparent.
Step 3: Combining Ingredients
In a large bowl, gently whisk together the coconut cream, heavy cream, honey or maple syrup, vanilla extract, and sea salt. If using, gently fold in the shredded coconut. The image would show a smooth, creamy mixture, possibly with flecks of coconut, in a large bowl. The consistency should appear thick and luxurious.
Step 4: Freezing Process
Pour the mixture into a freezer-safe container. Cover tightly and freeze for at least 4 hours, or until solid. If using an ice cream maker, follow the manufacturer’s instructions. A picture would show the mixture poured into a container, ready for freezing. The container would be clearly labeled and tightly sealed.
Step 5: Serving
Once frozen solid, allow the ice cream to sit at room temperature for about 10-15 minutes to soften slightly before scooping and serving. An image would show a scoop of creamy, pale-yellow ice cream being served in a bowl or cone. The texture would appear smooth and slightly icy, depending on the length of freezing time.
Making paleo ice cream at home is more than just a recipe; it’s an adventure in flavor and creativity. By mastering the techniques Artikeld in this guide, you’ll unlock a world of delicious possibilities, crafting frozen treats that are both healthy and incredibly satisfying. So ditch the store-bought options and embrace the joy of creating your own unique, paleo-friendly ice cream masterpieces. The creamy texture, the vibrant colors, the burst of natural sweetness – the experience is as rewarding as the result. Enjoy the journey, and savor every delicious bite!
Query Resolution
Can I use a regular blender for making the ice cream base?
Yes, a high-powered blender is ideal for achieving a smooth and creamy texture, but a regular blender can work if you blend in stages and add liquid as needed.
How long will the paleo ice cream last in the freezer?
Properly stored in an airtight container, your paleo ice cream should last for 2-3 weeks in the freezer.
What are some good toppings for paleo ice cream?
Consider paleo-friendly toppings like chopped nuts, berries, shredded coconut, cacao nibs, or a drizzle of honey or maple syrup.
Can I make this ice cream without an ice cream maker?
Yes, you can freeze the ice cream mixture in a shallow container, stirring it every hour or so to prevent large ice crystals from forming. This method requires more effort but still produces delicious results.


