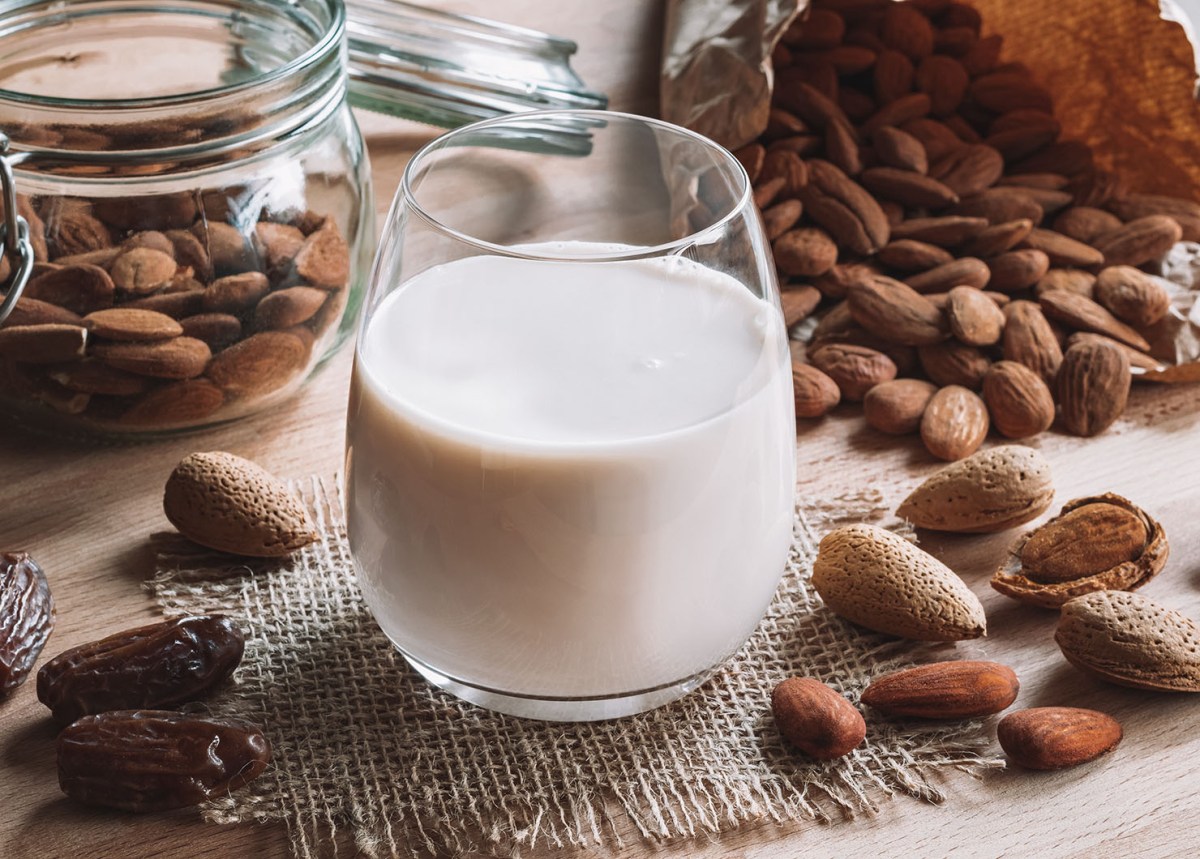
Dive into the creamy world of homemade plant-based milk! Forget the store-bought cartons and unlock the simple joy of crafting your own nutritious and delicious beverages. From the subtle sweetness of almond milk to the robust heartiness of soy, this guide unveils the secrets to transforming humble nuts, seeds, and grains into a delightful array of dairy-free delights. Discover the nuances of soaking, blending, straining, and flavoring, transforming simple ingredients into a personalized drink perfectly tailored to your palate.
We’ll explore the unique characteristics of various plant-based milk bases – almonds, soy, oats, and cashews – comparing their nutritional profiles, textures, and flavor profiles. Learn the optimal soaking techniques to unlock their creamy potential and master the art of blending for a perfectly smooth consistency. We’ll then guide you through various straining methods and explore a world of flavor combinations, from classic vanilla to adventurous cardamom infusions. Finally, we’ll equip you with the knowledge to store your homemade creations, ensuring they remain fresh and flavorful for as long as possible.
The Soaking and Blending Process

Unlocking the creamy potential of your plant-based milk begins with a crucial step: soaking. Soaking nuts and seeds softens their tough outer layers, making them easier to blend into a smooth, delicious milk. This process also helps to release enzymes that improve digestibility and enhance the overall flavor profile of your homemade milk. Proper soaking and blending techniques are key to achieving the perfect consistency.
Soaking nuts and seeds before blending is essential for several reasons. The soaking process helps to break down phytic acid, an antinutrient that can inhibit the absorption of minerals. Furthermore, soaking softens the nuts and seeds, making them easier to blend into a creamy, smooth milk without the gritty texture that can result from using unsoaked ingredients. Finally, soaking often enhances the flavor of the nuts or seeds, resulting in a richer and more enjoyable final product.
Soaking and Rinsing Procedures
The soaking time varies depending on the ingredient. Almonds, for instance, typically require a minimum of 4 hours, ideally overnight, in filtered water. This allows ample time for the water to penetrate the almond’s tough outer shell, softening its texture. Imagine the water gently permeating the almond, causing it to swell slightly and become more pliable. Similarly, sunflower seeds, known for their hardness, benefit from at least 8 hours of soaking. After soaking, thoroughly rinse the nuts or seeds under cool, running water to remove any debris or excess phytic acid that has leached out. This rinsing step is crucial for achieving a cleaner-tasting, more refined milk. The visual effect is a transformation from slightly cloudy soaking water to clear water after a thorough rinse, signaling the removal of unwanted substances.
Achieving the Ideal Blending Consistency
The goal is a luxuriously smooth, creamy milk, free from any undesirable grittiness. To achieve this, the ideal consistency during blending should be thick and almost paste-like. Imagine a thick, creamy yogurt; that’s the texture you’re aiming for. This thick consistency ensures that the blender can thoroughly process the ingredients, breaking down the cell walls and creating a homogenous mixture. A thinner consistency may result in a less creamy, more watery milk. Observe the mixture as you blend; you should see the ingredients gradually transforming into a smooth, cohesive mass.
Optimal Blending Techniques
Begin by adding your soaked and rinsed nuts or seeds to a high-powered blender. Add your chosen liquid – typically water, but you can also experiment with other liquids like coconut water or even brewed tea – in a ratio that yields your desired thickness. Start blending on a low speed, gradually increasing the speed to high as the mixture begins to emulsify. Use a tamper to push the ingredients down the sides of the blender as needed, ensuring that everything is thoroughly processed. The sound of the blender will change as the mixture becomes smoother, transitioning from a coarse grinding sound to a more consistent hum. For particularly stubborn ingredients, you might need to blend in short bursts, pausing to scrape down the sides, before resuming blending. This technique helps prevent the motor from overheating and ensures a uniformly smooth final product. The final result should be a visually appealing, creamy white liquid, devoid of any visible particles of the original ingredient.
Straining and Flavoring Your Milk
Now that your plant-based milk is blended to creamy perfection, the next step is to separate the liquid goodness from the remaining pulp. This straining process is crucial for achieving a smooth, enjoyable texture. Following this, we’ll explore the exciting world of flavor infusions, transforming your homemade milk into a delicious and customizable beverage.
The choice of straining method significantly impacts the final texture and richness of your milk. A finer strain results in a smoother milk, while a coarser strain leaves more of the pulp’s natural oils and nutrients, creating a creamier, thicker consistency.
Straining Methods
Several options exist for separating the liquid milk from the pulp. Each offers a slightly different result, allowing you to tailor the process to your preferred texture.
- Nut Milk Bag: These reusable bags, typically made from fine-mesh nylon, are specifically designed for straining nut milks. They effectively trap the pulp while allowing the liquid to pass through, resulting in a relatively smooth milk with minimal pulp residue. Imagine a finely woven net, gently squeezing out the creamy liquid, leaving behind a compact mass of pulp.
- Cheesecloth: A more readily available option, cheesecloth provides a similar straining effect to a nut milk bag, though it may require more careful handling to prevent tears. The result is similar – a relatively smooth milk, but perhaps with slightly more pulp particles depending on the weave.
- Fine-Mesh Sieve: This option offers a different approach. A fine-mesh sieve provides a less thorough straining than a nut milk bag or cheesecloth. Visualize a metal mesh, small enough to catch most of the larger pulp pieces, but allowing finer particles to pass through. The resulting milk will have a slightly thicker, more textured consistency.
Vanilla Almond Milk Recipe
This recipe demonstrates how easily you can transform your homemade almond milk into a delicious vanilla-flavored treat. The subtle sweetness of the vanilla complements the nutty almond flavor perfectly.
Ingredients:
- 1 cup raw almonds, soaked overnight
- 4 cups filtered water
- 1 teaspoon vanilla extract
- 1-2 pitted Medjool dates (optional, for sweetness)
Instructions: Blend all ingredients until completely smooth. Strain using your preferred method. Enjoy chilled.
Common Flavor Combinations
The possibilities for flavoring your homemade plant-based milk are endless! Experiment with different combinations to find your favorites. The base flavor of the nut or seed will influence the best flavor pairings.
- Chocolate: Cocoa powder or cacao nibs add a rich, decadent flavor. Consider adding a touch of maple syrup or agave nectar for sweetness.
- Maple: Maple syrup brings a natural sweetness and a distinctive warm flavor. It pairs well with almonds, cashews, and oats.
- Cardamom: A pinch of cardamom adds a warm, aromatic spice note, complementing the creamy texture of the milk. It pairs particularly well with almond and oat milk.
- Cinnamon: A classic pairing with many plant-based milks, cinnamon adds a comforting warmth and spice.
- Coconut: Adding shredded coconut to coconut milk enhances the tropical flavor profile.
Impact of Sweeteners on Nutritional Value
Adding sweeteners like dates or maple syrup increases the sugar content of your plant-based milk. While providing sweetness and flavor, this also affects the overall nutritional profile. Dates, although natural, still contain significant sugar. Maple syrup, while offering some trace minerals, is primarily composed of sugar. Moderation is key. Consider the overall sugar intake in your diet when adding sweeteners.
Using unsweetened plant-based milk allows for better control over added sugars and helps maintain a healthier nutritional balance.
Creating your own plant-based milk is not just a culinary adventure; it’s a journey of discovery and empowerment. By mastering the techniques Artikeld in this guide, you’ll not only enjoy a healthier, more delicious alternative to store-bought milks, but you’ll also gain a deeper understanding of the ingredients you consume. From the initial soak to the final flavorful sip, the process is both rewarding and surprisingly simple. So, gather your ingredients, embrace the process, and savor the creamy satisfaction of homemade plant-based milk—a testament to your culinary creativity and commitment to a healthier lifestyle.
FAQ Compilation
Can I use tap water for soaking?
It’s best to use filtered water to avoid any potential off-flavors in your final product.
How long does homemade plant milk last in the fridge?
Generally 3-5 days, but it depends on the type of milk and how well it’s stored. Look for signs of spoilage like sour smell or mold.
What if my plant milk is too thick?
Add more water during the blending process, or after straining, until you reach your desired consistency.
Can I make plant milk without a high-speed blender?
A high-speed blender is ideal for a perfectly smooth texture, but a regular blender will work, though you may have more pulp.
What can I do with leftover pulp?
The pulp can be added to baked goods, smoothies, or even used as a base for vegan burgers.


