Imagine a world where everyone can enjoy the delightful sweetness of a perfectly baked cupcake, regardless of dietary restrictions. This is the promise of our nut-free cupcake recipes, designed to be as delicious and visually stunning as their traditional counterparts. From elegant wedding celebrations to whimsical birthday parties, these adaptable recipes offer a range of flavors and stunning decoration options, ensuring every occasion is perfectly complemented by a delectable treat. We’ll guide you through creating fluffy, moist cupcakes and explore a variety of frostings and decorations to match any theme, all while keeping it completely nut-free and allergy-conscious.
This comprehensive guide will walk you through selecting the perfect flavor combinations, mastering the baking process, and unleashing your creativity with unique frosting and decoration techniques. We’ll delve into ingredient substitutions, addressing common allergens and ensuring everyone can safely indulge. Get ready to bake your way to celebratory success with these versatile and delicious nut-free cupcakes!
Step-by-Step Baking Process

Creating delicious and safe nut-free cupcakes involves careful attention to detail throughout the baking process. From preparing the ingredients to achieving the perfect texture and flavor, each step contributes to the final result. This guide provides a comprehensive walkthrough, ensuring a successful and enjoyable baking experience.
Cupcake Batter Preparation
First, preheat your oven to 350°F (175°C) and line a 12-cup muffin tin with paper liners. This ensures even baking and easy removal of the cupcakes. In a large bowl, cream together 1 cup (2 sticks) of unsalted butter and 1 ¾ cups of granulated sugar until the mixture is light and fluffy. This process incorporates air, resulting in a lighter and more tender cupcake. Imagine the butter, initially pale yellow and firm, gradually transforming into a pale, airy, almost cloud-like texture as the sugar is incorporated. The color remains relatively unchanged, but the consistency shifts dramatically.
Next, beat in 4 large eggs one at a time, ensuring each is fully incorporated before adding the next. The batter will become slightly thinner and more yellow as the eggs are added. The texture remains relatively smooth, though it might become slightly more viscous. Then, in a separate bowl, whisk together 2 ½ cups of all-purpose flour, 2 teaspoons of baking powder, and ½ teaspoon of baking soda. Gradually add the dry ingredients to the wet ingredients, mixing until just combined. Be careful not to overmix, as this can lead to tough cupcakes. The batter will now be a slightly thicker, more homogenous mixture, a pale yellow color with a slightly more opaque appearance than before. Finally, stir in 1 cup of milk and 1 teaspoon of vanilla extract. The final batter will be smooth, pourable, and a consistent pale yellow.
Filling the Cupcake Liners
Divide the batter evenly among the prepared cupcake liners, filling each about two-thirds full. This prevents overflow during baking. The batter will settle slightly during baking. The filled cupcake liners will show a smooth, even surface of pale yellow batter.
Baking the Cupcakes
Bake for 18-20 minutes, or until a wooden skewer inserted into the center comes out clean. During baking, the cupcakes will rise, becoming noticeably taller and developing a golden-brown crust. The tops will spring back gently when touched. Once baked, immediately remove the cupcakes from the oven and let them cool in the muffin tin for a few minutes before transferring them to a wire rack to cool completely. This prevents them from sticking and ensures even cooling.
Frosting Techniques
Once the cupcakes are completely cool, you can begin frosting. Several techniques can be used to achieve different looks.
Simple Swirl Frosting
Using a piping bag fitted with a large round tip, pipe a generous dollop of frosting onto the center of each cupcake. Then, use a knife or offset spatula to create a swirl pattern, spreading the frosting evenly across the top. The finished product will have a classic, elegant look, with a smooth, swirled top of frosting. The color of the frosting will be visible against the pale yellow of the cupcakes.
Rose Swirl Frosting
This technique creates a more decorative look. Pipe a small dollop of frosting onto the center of each cupcake. Then, using a piping bag fitted with a petal tip, pipe small swirls of frosting around the central dollop, creating a rose-like pattern. This technique requires a bit more practice, but the result is a visually appealing and intricate design. The finished cupcakes will showcase a beautiful rose-like frosting design.
Easiest Frosting
For the simplest approach, use an offset spatula to spread a layer of frosting evenly across the top of each cupcake. This creates a clean, smooth look, perfect for a minimalist aesthetic. The even layer of frosting will contrast beautifully with the cupcake’s pale yellow color.
Frosting and Decoration Ideas
Transforming your nut-free cupcakes into edible masterpieces is easier than you think! With a little creativity and the right tools, you can create stunning cupcakes perfect for any occasion. The following ideas showcase how simple techniques can yield impressive results, adding a touch of elegance or playful fun to your baked goods.
Five Creative Frosting and Decoration Concepts
These five frosting and decoration ideas offer diverse approaches to decorating your nut-free cupcakes, ensuring there’s a perfect style for every celebration. Each design uses readily available materials and simple techniques achievable even for novice bakers.
- Rainbow Swirl: This vibrant design uses multiple colors of buttercream frosting, creating a visually captivating swirl effect. Materials needed include: various food colorings (gel food coloring provides the most vibrant hues), a piping bag fitted with a large round tip, and a palette knife for blending colors. The process involves creating small batches of buttercream in different colors, layering them in the piping bag, and then swirling the frosting onto the cupcakes. The final effect is a colorful, joyful look perfect for birthday parties or children’s events. Imagine a cupcake with a vibrant spiral of pink, yellow, green, and blue, creating a miniature rainbow on each treat.
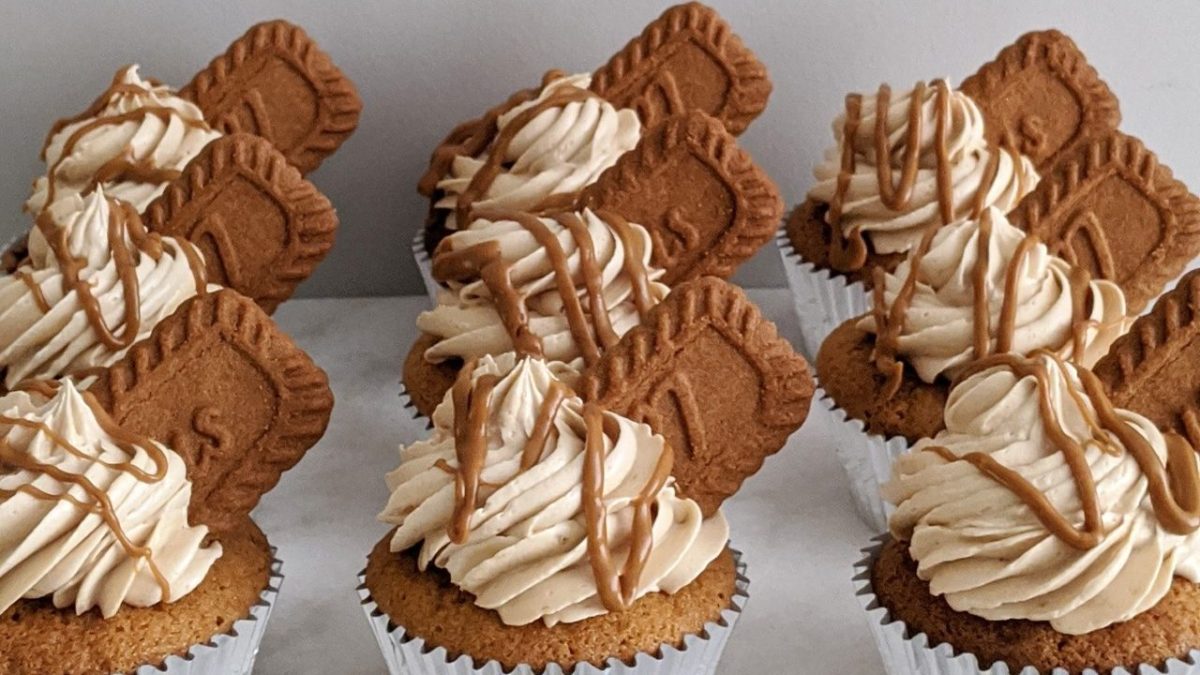
- Elegant Rosette: This sophisticated design utilizes a classic rosette piping technique to create a refined and elegant look. Materials include: a piping bag fitted with a star tip (such as a Wilton 1M), and a single color of buttercream frosting (ivory or white creates a particularly elegant appearance). The process involves piping individual rosettes in a circular pattern atop each cupcake, creating a dense, textured surface that speaks of sophistication. Picture pristine white rosettes, meticulously arranged, giving each cupcake an air of refined simplicity. This is perfect for weddings or anniversary celebrations.
- Textured Chocolate Ganache: This design uses a rich chocolate ganache for a decadent and sophisticated look. Materials: dark or milk chocolate (melted), heavy cream, and a palette knife or offset spatula for spreading. The ganache is poured or spread over the cupcake, then strategically textured with the back of a spoon or a fork to create an interesting pattern. The slightly uneven texture adds visual interest and a rustic charm. Envision a dark chocolate ganache, richly glossy, with subtle lines etched into its surface, providing a dramatic contrast to the lighter cupcake underneath. Ideal for a more mature, sophisticated gathering.
- Fresh Fruit and Cream: A light and refreshing design ideal for spring or summer celebrations. Materials: whipped cream (stabilized for best results), assorted fresh berries (strawberries, raspberries, blueberries), and a piping bag with a small round tip (optional). The whipped cream is piped onto the cupcake, and then fresh berries are artfully arranged on top. This creates a visually appealing contrast in color and texture. Picture a cloud of softly whipped cream, adorned with glistening red strawberries, plump blueberries, and juicy raspberries. The vibrant colors and natural textures make this a perfect choice for a summer garden party.
- Sprinkle Extravaganza: This fun and playful design is perfect for any celebration, especially children’s parties. Materials: various sprinkles (rainbow, chocolate, jimmies, etc.), and buttercream frosting (as a base). A generous amount of frosting is applied to the cupcake, and then a generous amount of sprinkles are pressed onto the frosting, creating a vibrant and colorful effect. Imagine a cupcake completely coated in a kaleidoscope of sprinkles—a rainbow of sugary delights. The sprinkles’ contrasting colors and textures add a playful, celebratory touch.
Creating a Visually Appealing Cupcake Arrangement
Once your cupcakes are frosted and decorated, arrange them on a cake stand or platter for a visually appealing display. Consider color coordination, varying heights (using different sized cupcake liners), and strategic placement of different designs to create a balanced and captivating arrangement. Grouping similar designs together can also enhance the overall visual impact. For instance, you could create a visually stunning display by arranging the Rainbow Swirl cupcakes in a circular pattern at the center, surrounded by the more elegant Rosette cupcakes, and then adding the fruit and cream cupcakes as a contrasting accent. The final result should be a cohesive and eye-catching display that complements the overall theme of your celebration.
Creating nut-free cupcakes that are both delicious and visually appealing is entirely achievable with the right knowledge and techniques. This guide has provided you with the tools and inspiration to craft stunning cupcakes for any occasion, ensuring everyone can enjoy a sweet treat without compromise. From the careful selection of ingredients and their substitutions to mastering the baking process and unleashing your creative flair with decorations, the journey to creating perfect nut-free cupcakes is a rewarding one. So, gather your ingredients, put on your apron, and get ready to bake some magic!
FAQ Summary
Can I make these cupcakes ahead of time?
Yes! Baked cupcakes can be stored in an airtight container at room temperature for up to 2 days or in the refrigerator for up to 4 days. Frost them just before serving for optimal freshness.
What type of frosting works best with nut-free cupcakes?
Many frostings work well! Cream cheese frosting, buttercream frosting (ensure your butter is nut-free!), and even a simple glaze are all excellent choices. Experiment to find your favorite!
How can I ensure my kitchen is completely nut-free when baking?
Thoroughly clean all surfaces and utensils before beginning. Use separate bowls and tools for nut-free baking to avoid cross-contamination. Be mindful of any shared spaces, like pantries, where nuts might be stored.
Can I freeze nut-free cupcakes?
Yes, you can freeze both unfrosted and frosted cupcakes. Wrap them individually in plastic wrap and then place them in a freezer-safe bag. They’ll keep for up to 3 months.


