Imagine the aroma of freshly baked bread filling your kitchen, a warm, comforting scent promising a delicious treat – all without the gluten! This isn’t a dream; it’s the reality of quick gluten-free baking. We’ll explore three incredibly easy recipes, each showcasing a different gluten-free flour, from the delicate nuttiness of almond flour to the subtle sweetness of coconut flour and the familiar texture of rice flour. Prepare to be amazed by how simple and satisfying creating your own gluten-free bread can be, even within a tight timeframe.
Each recipe offers a unique flavor profile and texture, reflecting the individual characteristics of its star ingredient. We’ll delve into the nutritional benefits and potential drawbacks of each flour, empowering you to make informed choices that align with your dietary needs and preferences. Beyond the recipes themselves, we’ll guide you through the entire baking process, from mixing the dough to troubleshooting common issues, ensuring a successful baking experience every time.
Step-by-Step Baking Process

This section details the creation of a simple, quick gluten-free banana bread, perfect for beginners. The recipe focuses on readily available ingredients and a straightforward method, ensuring a delicious loaf even without extensive baking experience. The visual descriptions will guide you through each stage, helping you achieve a consistently moist and flavorful result.
Gluten-Free Banana Bread: A Step-by-Step Guide
This recipe uses a blend of gluten-free flours for optimal texture and rise. The process is designed to be easy to follow, even for those new to gluten-free baking. Careful attention to the mixing and baking stages will yield a delightful loaf.
-
- Step 1: Preparing the Wet Ingredients. Imagine a medium-sized bowl filled with the vibrant yellow of three ripe mashed bananas. Their sweetness and creamy texture are the foundation of our bread. To this, add two large eggs, their rich color deepening the overall hue. Next, incorporate 1/2 cup of melted coconut oil, creating a smooth, slightly oily mixture. The color remains a pale yellow, but the consistency is noticeably thicker and more viscous.
-
- Step 2: Combining Dry Ingredients. In a separate bowl, picture a light, fluffy cloud of 1 1/2 cups of gluten-free all-purpose flour blend. To this, gently sift in 1 teaspoon of baking soda, 1/2 teaspoon of baking powder, and a dash of salt. The mixture remains light and airy, but with visible granules of baking powder and soda. The addition of cinnamon (1 teaspoon) adds a warm brown speckle to the overall pale color.
-
- Step 3: Gently Combining Wet and Dry Ingredients. Slowly add the dry ingredients to the wet ingredients, mixing with a spatula until just combined. Avoid overmixing, as this can lead to a tough loaf. The batter will be thick and slightly lumpy, a pale yellow with visible flecks of cinnamon. It should resemble a thick pancake batter in consistency.
-
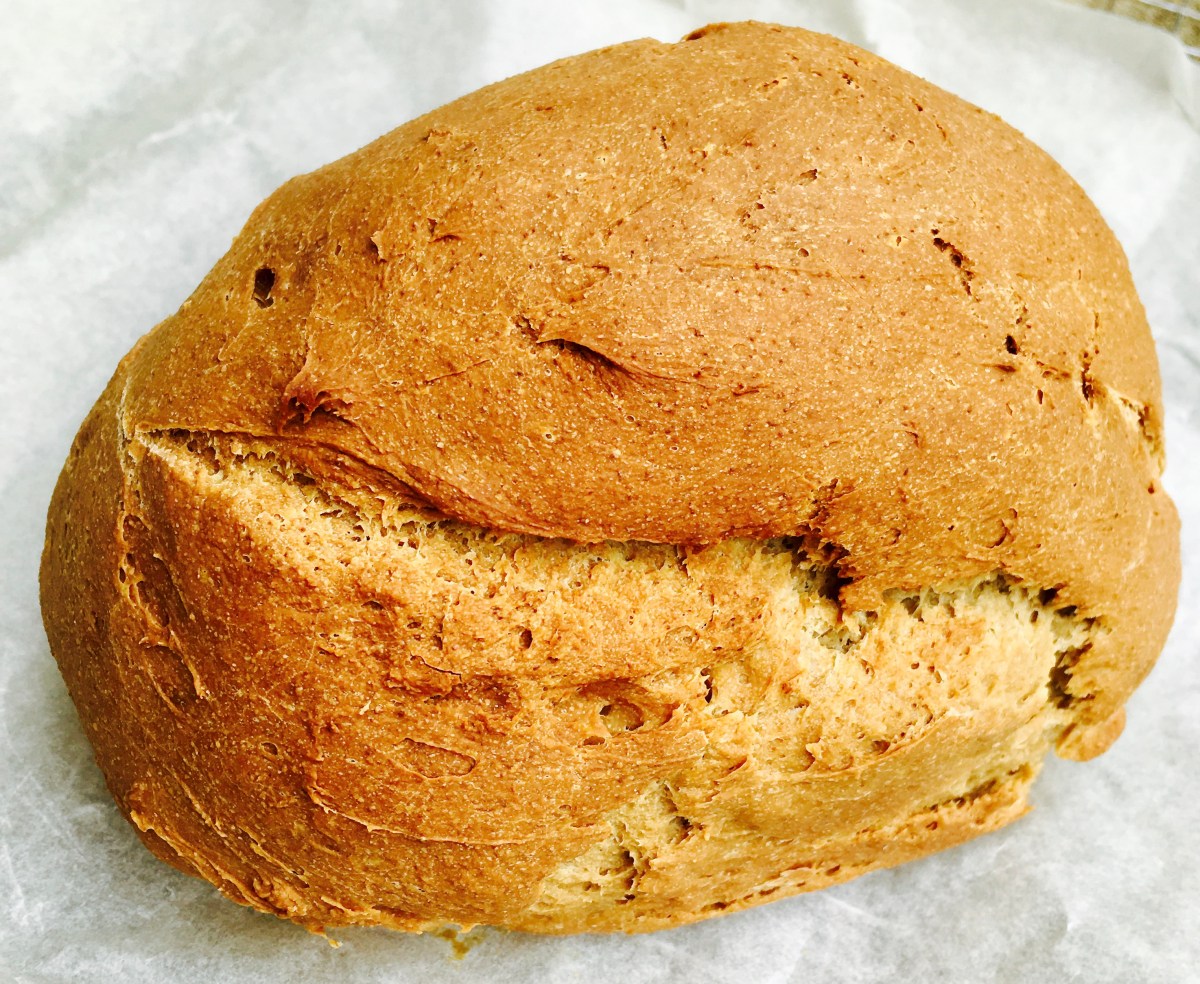
- Step 4: Baking the Bread. Pour the batter into a greased 9×5 inch loaf pan. The batter will fill the pan about ¾ full. Bake at 350°F (175°C) for 50-60 minutes, or until a wooden skewer inserted into the center comes out clean. As it bakes, the bread will gradually rise and brown, developing a golden-brown crust. The aroma of baking banana bread will fill the kitchen.
-
- Step 5: Cooling and Serving. Remove the bread from the oven and let it cool in the pan for 10 minutes before transferring it to a wire rack to cool completely. Once cool, slice and serve. The final loaf will be moist, tender, and slightly springy to the touch.
Troubleshooting Common Issues
Dense texture and uneven rising are common problems in gluten-free baking.
- Dense Texture: Overmixing the batter can lead to a dense loaf. Ensure you mix only until the dry ingredients are just combined. Also, check the freshness of your baking powder and soda. Stale leavening agents will result in a less airy bread.
- Uneven Rising: Uneven rising can be caused by an unevenly distributed batter or variations in oven temperature. Ensure your batter is evenly distributed in the loaf pan. Consider using an oven thermometer to ensure your oven is at the correct temperature. Preheating the oven thoroughly is also crucial.
From the initial mixing to the golden-brown crust emerging from the oven, crafting your own gluten-free bread is a rewarding culinary journey. This collection of quick recipes, paired with detailed instructions and troubleshooting tips, demystifies gluten-free baking, making it accessible and enjoyable for everyone. Experiment with different flours, explore creative serving suggestions, and delight in the versatility of this healthy and delicious alternative. So, preheat your oven, gather your ingredients, and prepare to bake your way to gluten-free bread bliss!
FAQ Explained
Can I use a different type of gluten-free flour blend?
Yes, but be aware that the texture and taste may vary slightly depending on the blend’s composition. You might need to adjust liquid amounts for optimal consistency.
How long can I store the baked bread?
Store leftover bread in an airtight container at room temperature for up to 3 days or in the refrigerator for up to a week. You can also freeze it for longer storage.
What if my bread doesn’t rise properly?
Several factors can affect rising, including the freshness of your baking powder/soda, the accuracy of your measurements, and the oven temperature. Ensure your leavening agents are fresh and that your oven is properly preheated.
Are these recipes suitable for vegans?
Most of these recipes can be easily adapted for vegans by using vegan substitutes for any non-vegan ingredients (like eggs or dairy). Check individual recipes for specific modifications.


